

Share This Article
Whether you’re upgrading from an old manual door or adding convenience with an automatic opener, garage door projects can save you thousands while boosting your home’s value.
Understanding the Safety Reality
DIY garage door installations result in about 1,600 injuries each year, mostly from improper handling of springs and heavy components. Garage doors weigh around 400 pounds with springs under 1000 pounds of pressure.
However, opener installation is generally much safer than full door replacement. If your existing door operates smoothly by hand, you can likely tackle an opener installation without touching those dangerous springs.
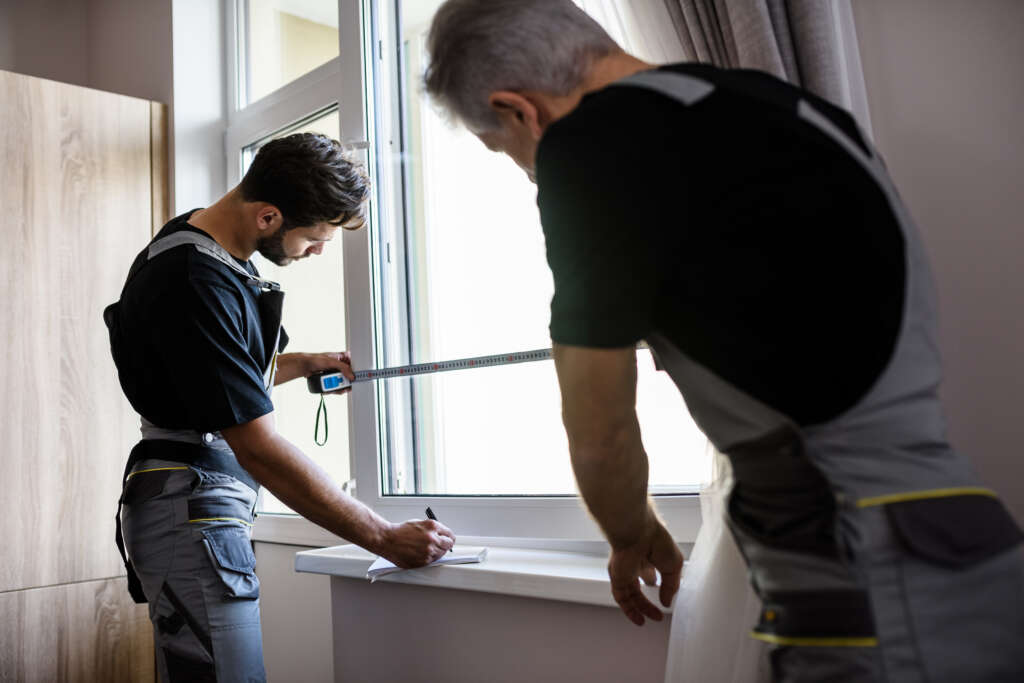
When to Call the Pros vs. Going DIY
Call a Professional For:
- Complete garage door replacement (especially spring systems)
- Doors over 8 feet tall
- Damaged or broken springs
- Any electrical work beyond plugging into an existing outlet
DIY-Friendly Projects:
- Garage door opener installation on properly functioning doors
- Adding smart garage controls to existing openers
- Basic maintenance and adjustments
The Door and Access Systems Manufacturers Association (DASMA) recommends that trained technicians handle door installations, but acknowledges that opener installation can be a reasonable DIY project with proper precautions.
Choosing the Right Garage Door Opener
Motor Power
Choose 1/3 HP for single doors, 1/2 HP for double doors, and 3/4 HP for doors with wood overlays.
Chain drives cost the least ($150-250) but create the most noise. They’re extremely durable and ideal for detached garages.
Belt drives run much quieter, making them perfect if you have living space above the garage. Expect to pay $200-400 for quality units like the Chamberlain B2405.
Screw drives offer the least maintenance and moderate noise levels, typically priced $250-350.
Modern openers can connect to your smartphone and integrate with home automation systems.
Essential Installation Prep
Tools You’ll Need
- Socket and ratchet set
- Cordless drill with bits
- 4-foot level
- Adjustable wrenches
- 8-foot ladder
- Safety glasses and work gloves
- Helper (this is really a two-person job)
Installing a garage door opener normally requires 2-4 hours and involves lifting components under 40 pounds.
Before starting, verify your door operates properly. You should be able to lift it by hand with reasonable effort. If it crashes down or shoots up with great force, you have spring issues that need professional attention first.
Check that you have at least 12 inches of headroom above the door opening and ensure an electrical outlet exists within 3 feet of where the opener will mount.
Key Installation Steps
Assembly: Start by assembling the carriage tube according to manufacturer directions. This rail allows the carriage to travel between the motor and the door.
Mounting: Install the header bracket above the center of your door, then mount the power unit to your ceiling. Skip the flimsy mounting straps that come with most units and buy slotted angle iron from your hardware store instead for a stronger installation.
Connection: Attach the connecting arm between the carriage and your door, usually requiring a reinforcement bracket on the door’s top panel.
Safety Systems: Install the photo-eye sensors no more than 6 inches above the floor on both sides of the door opening. These sensors prevent the door from closing if something breaks the beam.
Testing and Adjustment
After installation, test both opening and closing force settings. The door should stop with about 5 pounds of resistance when opening. For closing force, place a 2×4 on the floor under the center of the door; it should stop and reverse when contacting the wood.
Smart Upgrades and Maintenance
Install a wireless keypad outside your garage for keyless entry. Many modern openers include Wi-Fi connectivity, allowing you to control your door from anywhere through smartphone apps.
Consider an opener with battery backup if you live in an area with frequent power outages.
Monthly Maintenance
Test the photo-eye sensors by waving an object through the beam while closing the door. Check the force settings by testing the 2×4 reversal test.
Annual Maintenance
Lubricate the rail with lithium-based grease and check all mounting hardware for tightness. Test the manual release handle to ensure you can operate the door during power outages.
Budget-Smart Shopping
Expect to spend $150-600 for a quality opener, depending on features and drive type. Installation costs typically run $200-400 if you hire professionals, making DIY installation attractive for capable homeowners.
Look for sales at major home centers during spring and fall when manufacturers offer rebates. The Home Depot and similar retailers often bundle openers with installation services at competitive prices.
If your current door operates smoothly and you’re comfortable with basic electrical connections and mounting hardware, opener installation can be a rewarding DIY project. For complete door replacement or any work involving springs, the safety risks make professional installation the smart choice.