

Share This Article
Winter heating bills got you down? Before you crank up the thermostat again, consider this: the Department of Energy estimates that most American homes have inadequate insulation, and adding proper insulation plus sealing air leaks can save you 10-50% on heating and cooling costs. Even better, many of these upgrades are perfect weekend DIY projects that’ll pay for themselves within a year or two.
Start With the Big Picture: Where Heat Escapes
Think of your home like a coffee mug – you want to keep the good stuff in and the outside elements out. Heat naturally flows from warm to cold areas, so in winter, your expensive heated air is constantly trying to escape while cold air sneaks in. The biggest culprits are usually your attic (up to 25% of heat loss), walls, basement or crawl space, and all those little gaps around doors, windows, and outlets.
Before adding insulation anywhere, seal air leaks first. It’s like plugging holes in a bucket – there’s no point adding more insulation if heated air is still rushing out through cracks and gaps.
Quick Wins: Air Sealing Projects Under $50
Start with a caulk gun and some quality latex or silicone caulk (about $15-20 total). Target the stationary spots where different materials meet: around window frames, door frames, where baseboards meet walls, and anywhere you can see daylight peeking through.
Here’s the pro technique: cut your caulk tube tip at a 45-degree angle, hold the gun at that same angle, and pull toward yourself while squeezing. Practice on newspaper first if you’ve never used a caulking gun. Smooth with a wet finger within a few minutes of application.
For moving parts like doors and operable windows, use weatherstripping instead of caulk. Self-adhesive foam tape costs under $10 and works great for most applications, though metal weatherstripping lasts longer if you’re willing to spend a bit more.
The Outlet and Switch Plate Trick
Here’s a sneaky source of drafts: electrical outlets and switches on exterior walls. Turn off the power, remove the cover plates, and you’ll often feel cold air rushing in. Install foam gaskets behind each plate (about $5 for a pack that’ll cover your whole house) for an instant improvement.
Don’t Forget the Basement
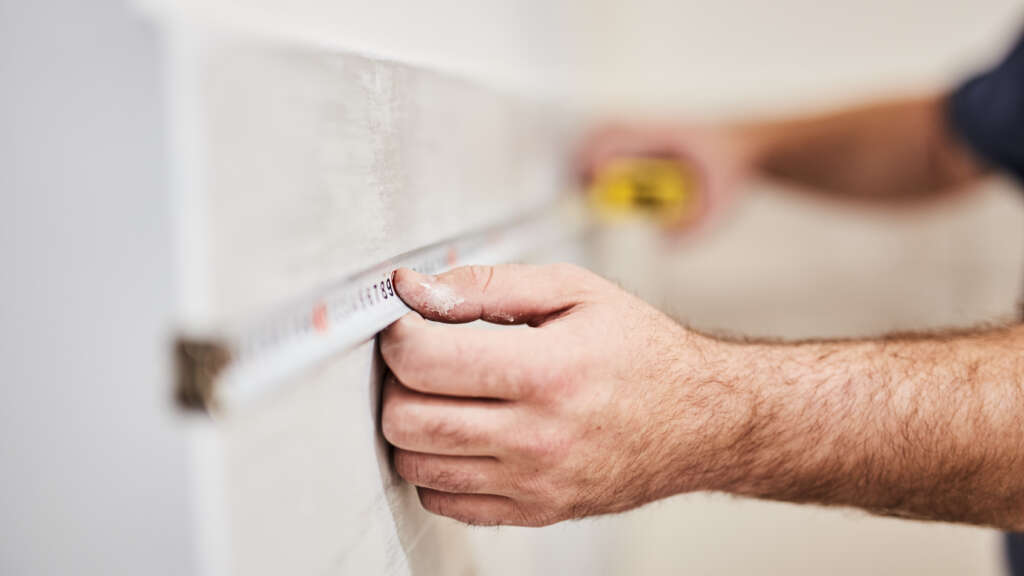
Head to your basement and look for the rim joist – where your house’s wooden frame sits on the foundation. This area is notorious for air leaks. Use silicone caulk for gaps smaller than 1/4 inch, and expanding foam sealant for larger gaps up to 3 inches.
Understanding R-Values: Your Insulation Report Card
R-value measures how well insulation resists heat flow – higher numbers mean better performance. Think of it like a winter coat’s warmth rating. Here’s what you need for different areas:
Attics: R-38 to R-60 depending on your climate zone (that’s about 12-20 inches of fiberglass)
Walls: R-13 to R-23 for exterior walls
Floors over unheated spaces: R-25 to R-30
Basements: R-10 to R-15 for walls
Check your current insulation by measuring thickness in accessible areas like attics. If you have less than 6 inches of insulation in your attic, you’ll definitely benefit from adding more.
DIY Attic Insulation: The Biggest Bang for Your Buck
The attic is usually your best starting point because it’s accessible and delivers huge energy savings. You can add insulation right over what’s already there – just make sure the new layer doesn’t have a vapor barrier if you’re laying it over existing insulation.
Blown-in insulation (cellulose or fiberglass) is ideal for attics because it fills gaps better than batts (pre-cut rectangular sections of insulation designed to fit between wall studs and ceiling joists). Many home centers rent blowing machines for about $30/day and give you a discount on insulation if you rent their equipment. Budget about $0.50-$1.50 per square foot for materials.
Safety gear is crucial: wear an N95 mask, safety goggles, long sleeves, and gloves. Fiberglass is itchy, and cellulose is dusty. Also, only step on ceiling joists – never on the drywall between them unless you want to put your foot through the ceiling.
Money-Saving Strategies and Incentives
The Energy Efficient Home Improvement Credit lets you claim 30% of insulation costs (up to $1,200 annually) through 2032. Air sealing materials and systems also qualify, and there’s no lifetime limit – you can claim the credit every year you make improvements.
Many utilities offer rebates for insulation upgrades. Check with your local utility company for available programs in your area.
DIY insulation projects typically cost $0.50-$2.00 per square foot for materials, while professional installation runs $2.50-$6.00 per square foot. For accessible areas like attics, DIY makes financial sense. For complex jobs like wall insulation or areas requiring special equipment, professionals often deliver better long-term value.
The Workflow That Works
- Air seal first – caulk, weatherstrip, and foam seal all the gaps
- Start with the attic – biggest impact for least effort
- Tackle basement/crawl space walls – often overlooked but important
- Consider wall insulation – if budget allows and opportunity arises
- Don’t forget ductwork – seal and insulate ducts in unconditioned spaces
Quick Diagnostic: The Candle Test
Want to find air leaks? On a windy day, light a candle and slowly move it around window frames, door frames, outlets, and baseboards. When the flame flickers or bends, you’ve found a leak that needs sealing.
The Bottom Line
Insulation and air sealing upgrades offer some of the best returns on investment in home improvement. Even modest improvements like adding attic insulation and sealing obvious air leaks can cut 15-25% off heating and cooling bills. Factor in federal tax credits and utility rebates, and many projects pay for themselves within 2-3 years while making your home more comfortable year-round.
Start with the quick, cheap fixes – caulking and weatherstripping – then work your way up to bigger projects like attic insulation. Your wallet (and your comfort level) will thank you next winter.